Web design incorporates many elements, but one of the most important design aspects is one that many people overlook. Images have a powerful effect on its viewer, and they play a significant role on websites. However, many often forget the little things about web images that can quickly spiral out of control if special care is not taken. Not paying attention to the small stuff, such as your images file size, appearance, and SEO can negatively affect your website and SEO rankings.
Your site’s graphic content should never be overlooked. You need to take control of your images to protect your revenue and offer a better user experience. Image management does not have to be complicated, especially if you follow these simple WordPress image tips.
Don’t be Afraid to Crop
One way to help keep your file size down is to crop your image. It is best to crop your image before you resize, so make sure you trim the visible fat off first before you change the size of the dimensions of an image. Not only will this help reduce your file size, but it will also help your image pack a more powerful punch. Many times visual images have a lot of negative space, which can be a good thing, but sometimes it’s best to cut to the case. Cropping and focusing on a particular graphic element will help your image pack more of a punch because the primary visual element is highlighted and focused upon.
Know Your File Formats
There are many file extensions out there, but the image formats most commonly used online are JPEG, PNG, and GIF images. Knowing when to use each file extension can help you keep your file size down and will help with your overall design. PNG’s are often used for icons, buttons, and screenshots. PNG’s offer high quality, but it comes at a price. Due to lossless compression, the file sizes are larger with PNG’s, so use PNG’s for your site’s design elements. When it comes to using photographs with many colors on your website, you will want to save your images as a JPEG to help reduce your file size. GIF’s are generally used for animated image files, or for low-quality images that only have a few colors.
Watch Your File Size
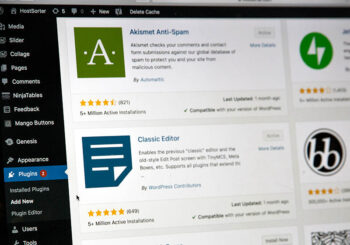
Does your website seem sluggish? If so, the file size of your images could be the culprit. One of the ways to help ensure that your site does not become lethargic is to optimize your images for the web. A good rule of thumb to always follow is to keep your images smaller than 100 kb. In order to optimize an image for the internet, you can use a photo editing program, such as Adobe Photoshop, to optimize your image for the web before you upload to WordPress. If using a program to resize an image is not something you are comfortable with there are a variety of WordPress plugins available that can compress and optimize your images.
Don’t Forget About SEO!
An aspect that is commonly overlooked, SEO optimization of your visual elements plays a significant role in your site’s overall success. First and foremost, your image should never be saved as a meaningless generic name. Instead, give a descriptive filename to your image when you are saving. Make sure the file name includes a relevant search term and keywords, just don’t go overboard. Once you have your image uploaded to WordPress’ media library, don’t forget to fill in the title field, and provide a concise, non-spammy sounding alt tag for your image. Just don’t forget to include your SEO keywords!